
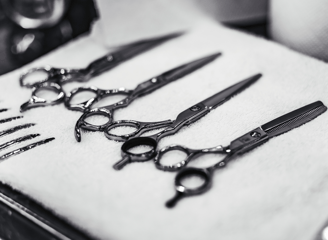
Types of Professional Hairstyling Scissors For Barbers
HAIR STYLESCISSORS
Noor/vari
1/19/20255 min read
What to Know About Professional Hairstyling Shears The Best Tools, Their Use, and The Features They Possess
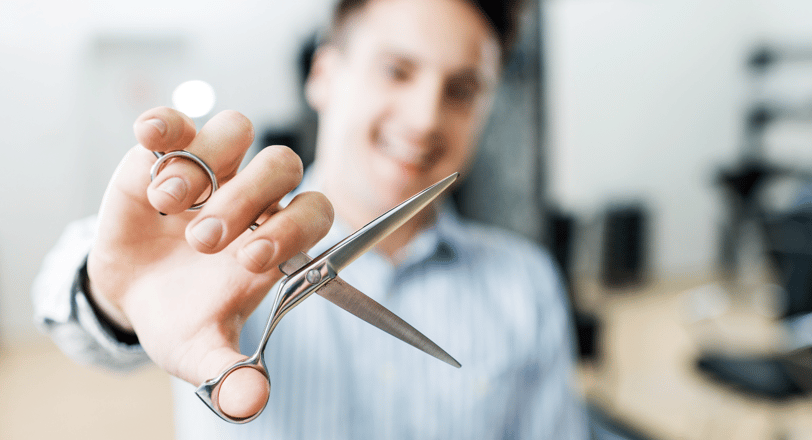
For hairstylists, scissors are not cutting tools alone but devices that determine the work's quality and customer satisfaction. This guide will elaborate on various sorts of professional hairstyling scissors and outline the necessary grips and methods of employing them so that they can cater to several needs.
Types of Professional Hairstyling Scissors
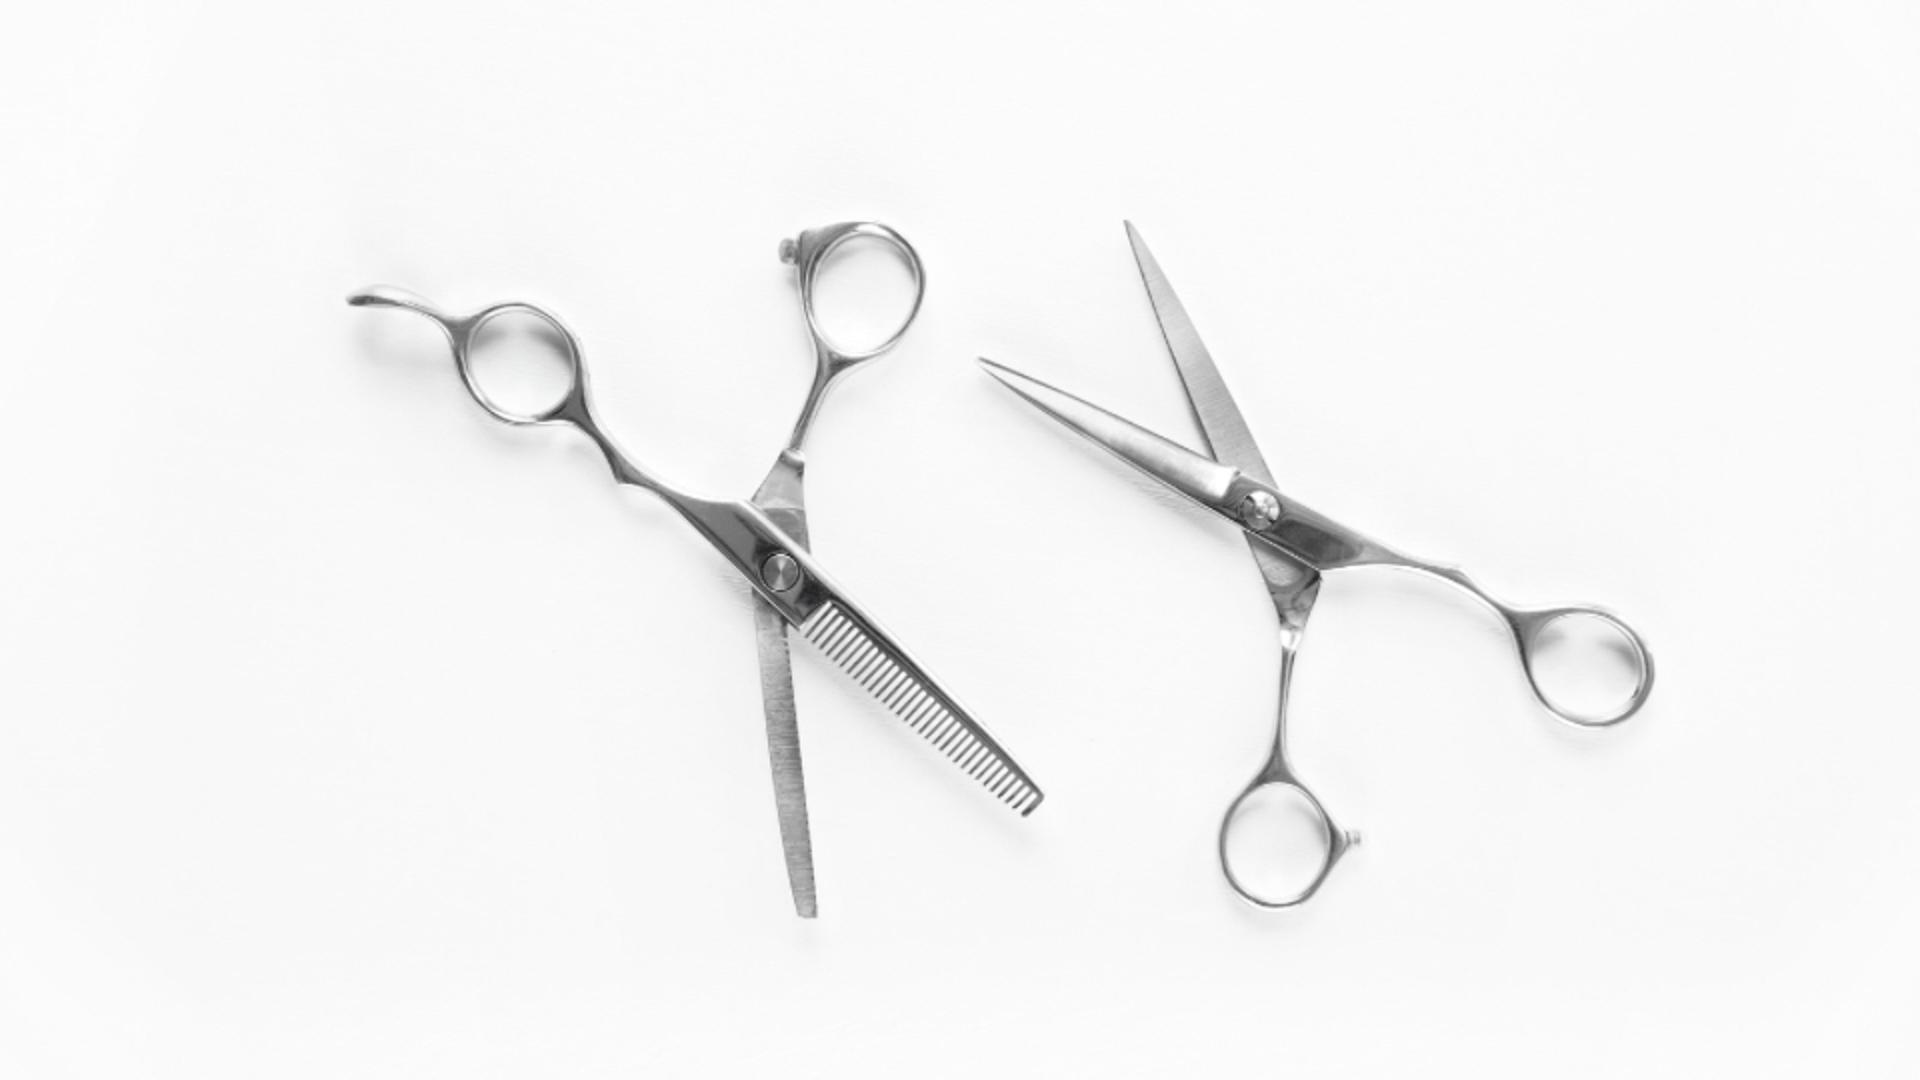
1. Straight Cutting Scissors
1. Straight-cutting scissors are the most basic tools of stylists and they are offered in differing sizes and other specifications as seen fit:
Short-Blade Scissors (5.5 inches)
1. Best suitable for decorated pixie and other such styles.
2. Gives optimum movement when trimming thin items and offers fine control while using detailed techniques.
3. Best recommended for learners since they are easier to manoeuvre.
Blade scissors (6.5 inches)
1. The most dominant size when dealing with multi-cutting techniques.
2. Most widely used blade due to their all-purpose suitability when dealing with various hair textures.
Long-blade scissors (7-8 inches)
1. Slide-cutting and blunt cuts are the primary purposes of this tool.
2. If you are looking to cut large portions of hair, then this is the tool for you.
3. Combs are used during cuts with scissors over.
4. These are widely utilised by professional or skilled hair stylists.
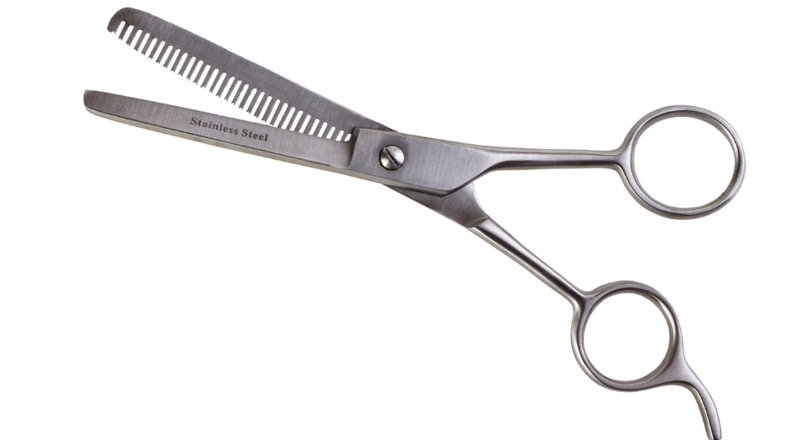
2. Thinning Scissors
These are most commonly referred to as texturising scissors and have a regular and notched blade.
Standard Thinning Scissors
1. Removes about 50 per cent of bulk.
2. 28 to 30 teeth are present
3. Very effective when done so for texturising purposes
4. Excellent for thick hair optimisation.
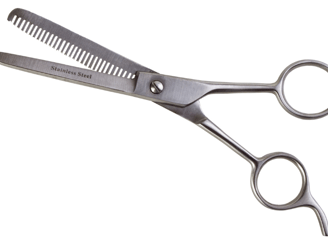
Blending Scissors
1. 40 to 46 teeth
2. 35 to 40 percent of bulk is removed
3. Performs layering with no visible transitions
4. When texture is required but not too strong, this tool will work
Creative Thinning Scissors
1. 14-16 Curved teeth
2. When the full texture is not desired between 70 and 80% of the bulk is removed
3. The resemblance is unmistakable.
4. Cutting by hair usually includes.
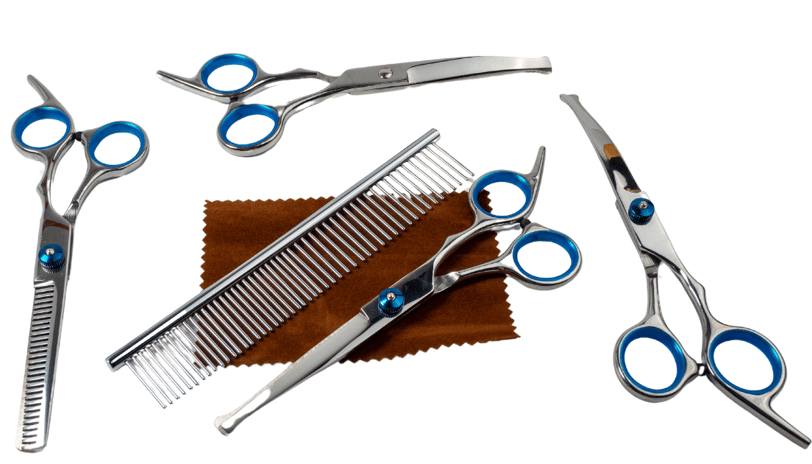
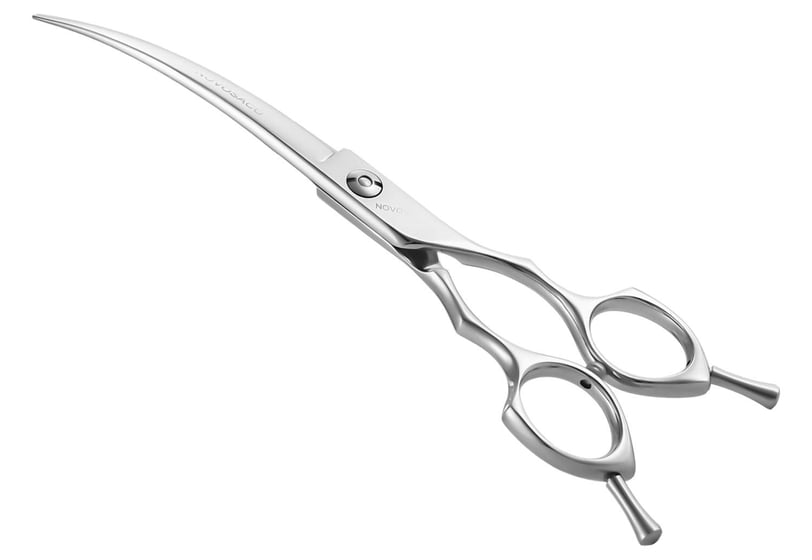
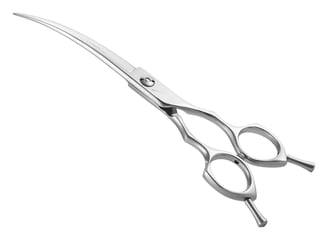
3. Specialty MK Scissors
Curved Scissors
1. The blade has a comfortable ergonomic-designed curve
2. Due to this design, wrist strain is decreased.
3. Excellent for slide cutting.
4. Excellent for soft layering.
Left Handed Scissors
1. Designed for Left Handed stylists
2. It's like right-handed scissors turned into a mirror
3. Guarantees proper blade alignment
4. There is prevention of incorrect cutting steps and strain.
Swivel Thumb Scissors
1. Rotatable thumb handle - Helps prevent repetitive strain injuries - Allows their hands to move naturally
A popular aid for qualified professionals suffering from arthritis
Still Life and Scissors Observation Techniques
Fundamentals of the Basic Grip
Proper Finger Placement
1. Positioning of the Thumb
1. Get a full insertion into the bottom ring
2. Make sure the thumb remains relaxed
3. Avoid going to any extremes
4. Keep the thumb in natural alignment about the hand.
2. Ring Finger Movement
1. Should be placed inside the top ring
2. Moderate control should be applied
3. Ample movement space should be left
4. The position should remain slightly relaxed.
3. Middle Finger
1. The finger should rest on the finger rest (tang)
2. Provides stability
3. Helps to control the pressure on the cutting edge.
4. Also aids in improving precision.
4. Index Finger
1. The blade edge should be in the resting position along the blade.
2. Helps to guide the cutting plane or direction.
3. Also assists in control of the tool.
4. And helps in getting feedback from the tool during cutting.
5. Pinky Finger
1. Should be resting below the bottom ring.
2. Supplies the required balance.
3. Support control actions by helping to stabilise.
4. The action of cutting motion.
Advanced Techniques: Handling the Tools
Opening and Closing Motion
1. Fluid Movement
1. Try to exercise a smooth rhythm
2. Avoid forceful and sudden movements
3. Hold a steady speed
4. Controlled cutting should be practised.
2. Blade Control
1. Blade pressure should be monitored.
2. Adequate tension is maintained.
3. Adjustments are made to suit various hair textures.
4. Ensure clean cuts.

Ergonomic Considerations
1. Wrist position
1. Should be in neutral alignment
2. Avoid extreme angles
3. Keep the wrist in a comfortable or relaxed position.
4. Avoid strain injuries.
2. Elbow Position
1. Keep close to the body
2. Maintain a suitable height for comfort.
3. Adjust according to the position of the client.
4. Minimise shoulder strain
3. Body Positioning
1. Note to maintain balance in posture.
2. The feet should be kept at a distance equivalent to the width of one's shoulder.
3. Modify the height where required.
4. Make appropriate movements where the client is concerned.
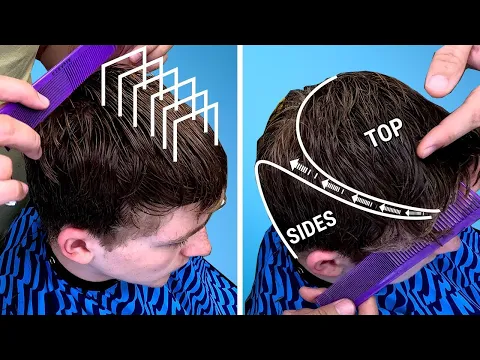
Specialised Cutting Techniques
Point Cutting
1. Proper Grip
1. Trim with scissors in an upright position.
2. Do not exert too much force.
3. The pointed scissors are to be utilised.
4. Make appropriate cuts after assessing the required depth.
2. Movement Pattern
1. Every cut should be delicately made stronger than the prior one.
2. Movement in which the scissors are in motion is to be ensured.
3. The depth of cuts can be altered.
4. The angle should be maintained at a single consistent point and should smoothly blend into the desired cut.
Slide Cutting
1. Scissor position
1. A flat angle should be utilised while gripping.
2. Contact with the blades should be kept at all times.
3. The speed at which something is being cut should be managed.
4. Keep an eye on the pressure being exerted while cutting.
2. Hair Control
1. Use an appropriate amount of tension.
2. Isolate from the bulk of the hair.
3. Employ a guiding hand.
4. Observe and manage progress.
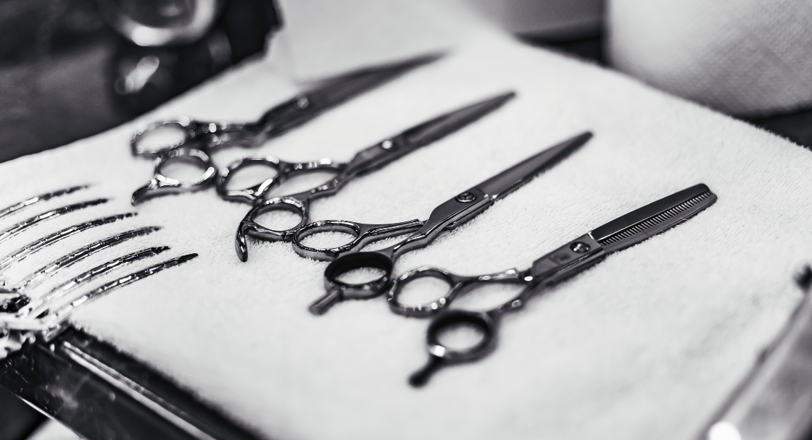
Maintenance and Care
Daily Care
1. Cleaning Routine
1. Debris in the shape of hair should be made free from the blades.
2. Blades should be cleaned with a wipe.
3. Oil for lubrication should be applied after cleaning.
4. Ensure blades are aligned properly.
2. Storage
1. A case should be utilised for protective purposes.
2. Humid areas should be avoided for storing purposes.
3. Store the equipment where the temperature remains favourable.
4. Avoid contact with blades.
Professional Maintenance
1. Regular Servicing
1. Blades should be sharpened after intervals of 6-12 months.
2. While making cuts, paying attention to tension is essential.
3. Blades should be properly aligned and checked.
4. Professional care and attention should be sought after for making adjustments.
2. Quality Control
1. Ensure proper looking at the cuts made.
2. Ensure that the blades are functioning smoothly without any interruption.
3. Make sure each blade has a desired amount of tension in it.
4. Take the dimensions of the blades and ensure their weight is comfortable for usage.
